
Main web sites:
https://obsolescence.dev/pidp10 - Overview & context
https://obsolescence.wixsite.com/obsolescence/pidp10 - Details on how to build & use
The core components in to the PiDP-10 project are Lars Brinkhoff's ITS Reconstruction Project (https://github.com/PDP-10/its) and Richard Cornwell's simh simulators (https://github.com/rcornwell/sims).
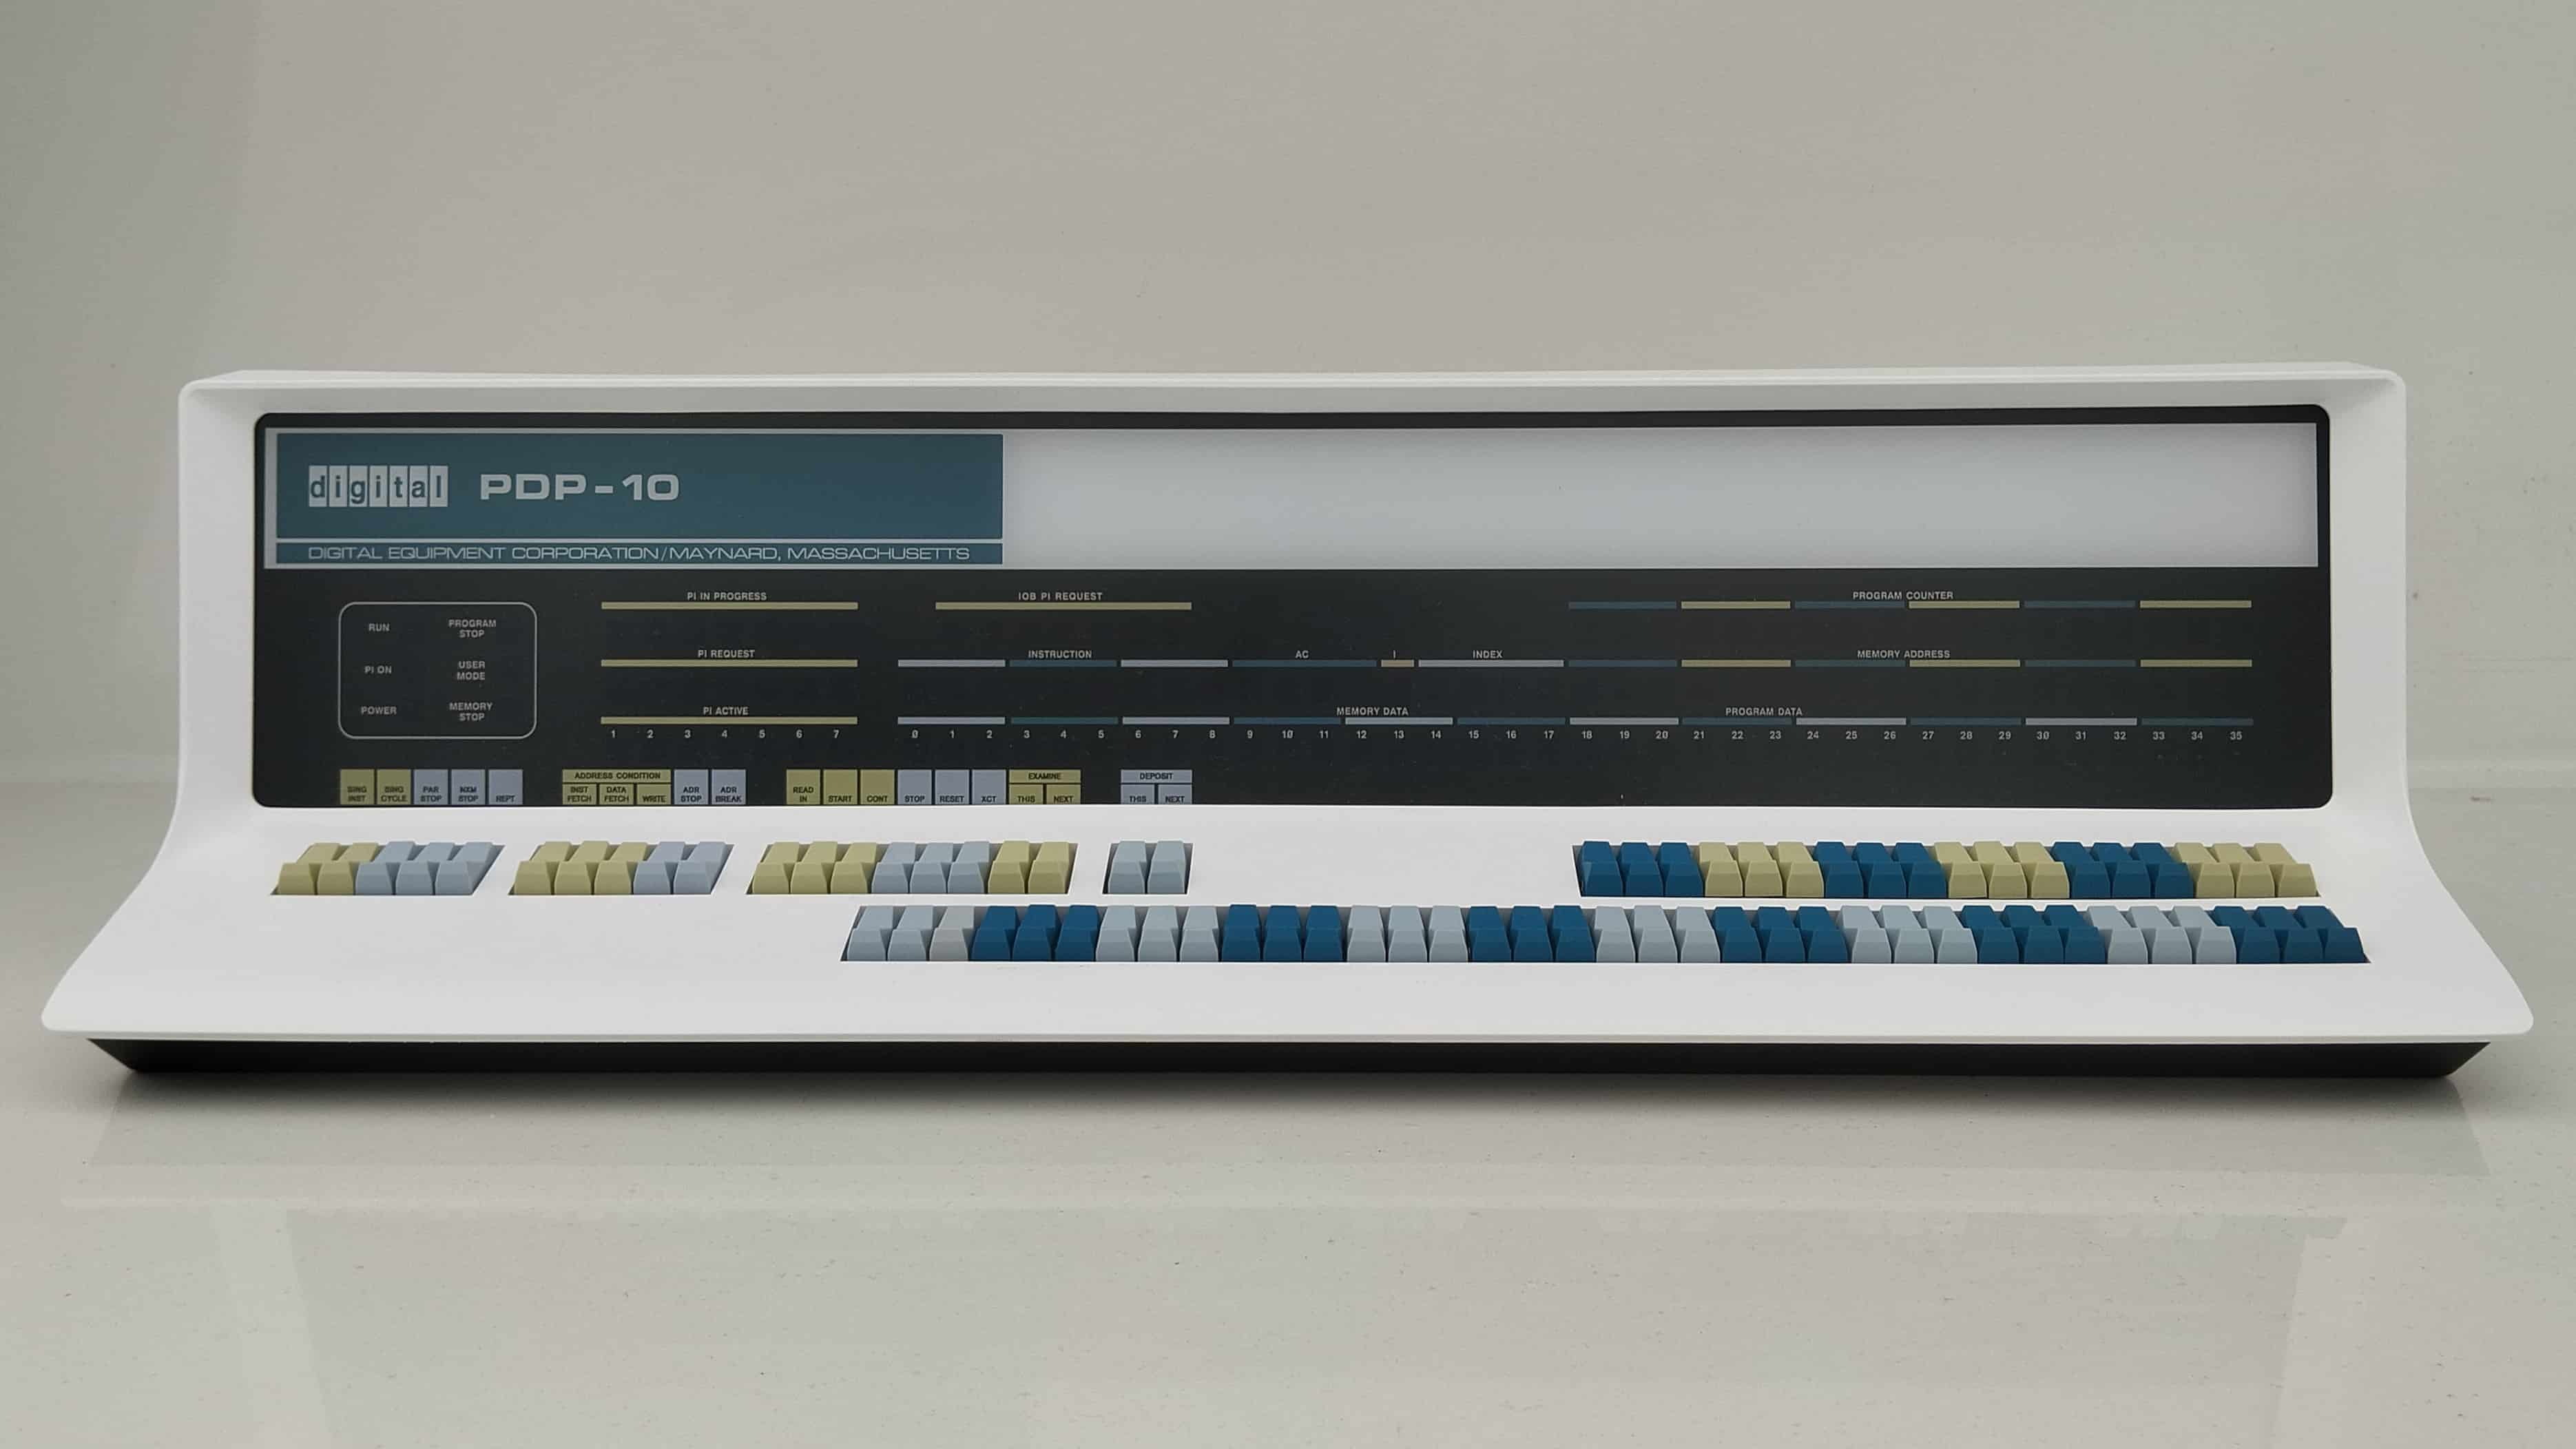
The PiDP-10 is a replica of the PDP-10, a 1960s mainframe, complete with glorious Blinkenlights. Inside sits a Raspberry Pi with two concurrent hearts beating: a virtualised PDP-10 and a physical Linux.
One core may be virtual rather than silicon, but no matter.
The world inside the PiDP-10 is not just the PDP-10 alone, but the entire MIT AI Lab (of myth and lore) consisting of dozens of interlinked computers and other hardware. It normally runs the ITS operating system, with 400 software projects recovered from MIT tape archives. You can also boot into TOPS-10, DEC's own operating system, with its own storied history.
cd /opt
sudo git clone https://github.com/obsolescence/pidp10.git
/opt/pidp10/install/install.sh
Questions that the install script asks you: self-explanatory, normally all would be answered with Y, except for installing the ITS source code and its dependencies. Do those later to save time.
What the installer does: it keeps itself limited to things in /opt/pidp10; except for creating two symlinks in /usr/bin and if desired, adding a line to ~/.profile to autostart the PDP-10 at log in.
This repository is really for the PiDP-10 - or a regular Raspberry Pi (4 or 5 recommended). But it will work just fine on regular X86/64 Linux too if you do not have a Pi at hand. See below.
Explanation: there's lots of simulator programs next to the PDP-10 engine itself (they're all in /opt/pidp10/bin) to simulate various hooked-up hardware from the MIT AI lab. Some PDP-11s, a PDP-6, other computers, terminals, etc.
This is the hardware farm that becomes your playground. Most of the simulator programs connect with each other through telnet links (even if the simulated machines think it's serial ports and other cabling, it is all telnet in truth).
So not everything has to run on the PiDP-10 itself. It is quite normal to run the Knight TV terminal simulator on your laptop, logging in to the PiDP-10 remotely. You might even invite others for a multiplayer Mazewar session, each connecting to the PiDP-10 from their own location. See https://github.com/obsolescence/rpdp for installing the terminal simulators on your laptop/desktop.
Two control scripts regulate the PDP-10:
- pdpcontrol [start/stop/status]
If you run this without PiDP-10 hardware, then you must do
pdpcontrol start 1instead ofpdpcontrol start. Because you don't have the front panel switches. The relevant boot numbers: 0 = blinkenlights demo, 1 = boot ITS, 2 = boot TOPS-10.
- pdp: if run without any command line arguments, inspect the simulation engine. Enter
CTRL-Adto exit again.
If run with command line arguments, start up peripheral simulators. So
pdp conwill get you the Teletype,pdp tvconthe Knight terminal,pdp vt52a - well, vt52.pdp viewis a nice all-in one setup. Dopdp ?for all options.
The project will actually run just fine on a Linux laptop instead of a Pi. There is only one thing to do: after running the install script, untar the X86 binaries in /opt/pidp10/bin. They will overwrite the Pi binaries and that is all you need to do. Not elegant, but effective.
Install https://github.com/obsolescence/rpdp on your X86 Linux machine (Windows 11 with WSL also works). After installing that, rpdp tvcon will connect your Knight TV to the PiDP-10.
Note: rpdp will work on raspberry Pi's as well.
More detailed information on two command line scripts:
- pdpcontrol: power up/power down the PDP-10 itself
pidpcontrol start starts the PDP-10 engine in the background, wrapped in a 'screen' session; pidpcontrol stop kills the PDP-10. Do make sure you have shut down any operating system on the PDP-10 before. This is a power switch, not a shutdown command. pidpcontrol stat and pidpcontrol stat tell you whether the PDP-10 is up or not. As mentioned, do pdpcontrol start 1 if you don't actually have the PiDP-10 front panel.
- pdp: monitor the PDP-10 engine
pdp will get you into the 'screen' session that contains the simh PDP-10 engine. This is seldomly necessary, but it allows you to set the simh settings interactively. You can leave the screen session if you started it from the command line with Ctrl-A d.
Inside simh, you can use CTRL-E to interrupt the simulations, read the simh manuals for what to do, and enter cont to resume the simulation.
pdp view will open a handy all-in one display.
pdp -h will show how to start all the various terminals and devices. pdp con gets you to the Teletype Model 33 simulator for instance, needed for the ITS boot process. The noisy Teletype simulation of pdp con is fun for a while, when you tire of the noise use pdp telcon instead.
Please note that pdpcontrol and pdp interact with the PDP-10 engine, but are not part of it. They are just scripts in /opt/pidp10/bin. You can run and close them as you see fit. The PDP-10 just runs.
See the two main project web sites mentioned at the top of the page to explore the system.

Source code and hacking about
Assuming you let the installer run though all its options, you will find nearly a dozen software projects (the PDP-10, the terminals, the hooked-up other computers from the AI Lab). Edit-compile-run, and install your enhanced binaries in /opt/pidp10 once you are satisfied. Note that almost all these tools are projects stored here as live git submodules.
pidp10/src/pdp10: source code for Richard Cornwell's PDP-10 simulator. Use make X86=1 if you do not have a PiDP-10 front panel, it will run fine.
pidp10/src/its: the heart of the ITS beast.
pidp10/src/its/tools you will find the peripheral projects.
pidp10/src/sty: a Teletype Model 33simulator with satisfying noises. But it is a quick hack, we had finish this in a hurry. Still, works fine.
I only wrapped up other people's genius into a physical front panel. There is a whole community behind this body of code.
@rcornwell wrote the PDP-10 KA10 simulator (the Engine), @larsbrinkhoff did much of the work on the ITS Reconstruction Project, @aap added the PDP-6, Knight TV and many other elements.
But they too built on a community of dozens, going back a long time. Ken Harrenstein's emulator in 1992 was the start, and he did the first work to make a Personal ITS distribution available. In the early 2000's ITS was also running on Supnik's SIMH. Huge strides were enabled by @rcornwell adding ITS support to his KA10 emulator. Work with @larsbrinkhoff during fall 2017 resulted in ultimately booting the very accurate KA10 simulator successfully on January 8, 2018. Much of the following AI lab emulation followed from of this.
@eswenson1 and @atsampson did almost everything related to Maclisp, Macsyma, Muddle, and Zork. @philbudne's 340 emulation was the first of the KA10 specific "exotic" devices that were adding over time.
@bictorv is the cherished champion of Chaosnet.
Without the effort of @lisper et al we probably wouldn't have the wealth of backup data to draw from. Without that, ITS would only have been a whisper of a ghost of its former grandeur.
And of course, ITS preservation started already in the 80s with @bawden and many others, most of which are unsung heroes.