This document mainly introduces the code implementation part of "Detecting and Analyzing Pests and Diseases in Agricultural Fields Based on YOLOv8".The purpose of the whole thesis is mainly to improve the network structure of YOLOv8, so that it can improve the accuracy and real-time performance in detecting pests and diseases. Next, I will describe how to build up this project from scratch.
Go to the official python website: https://www.python.org/ to download and install it.

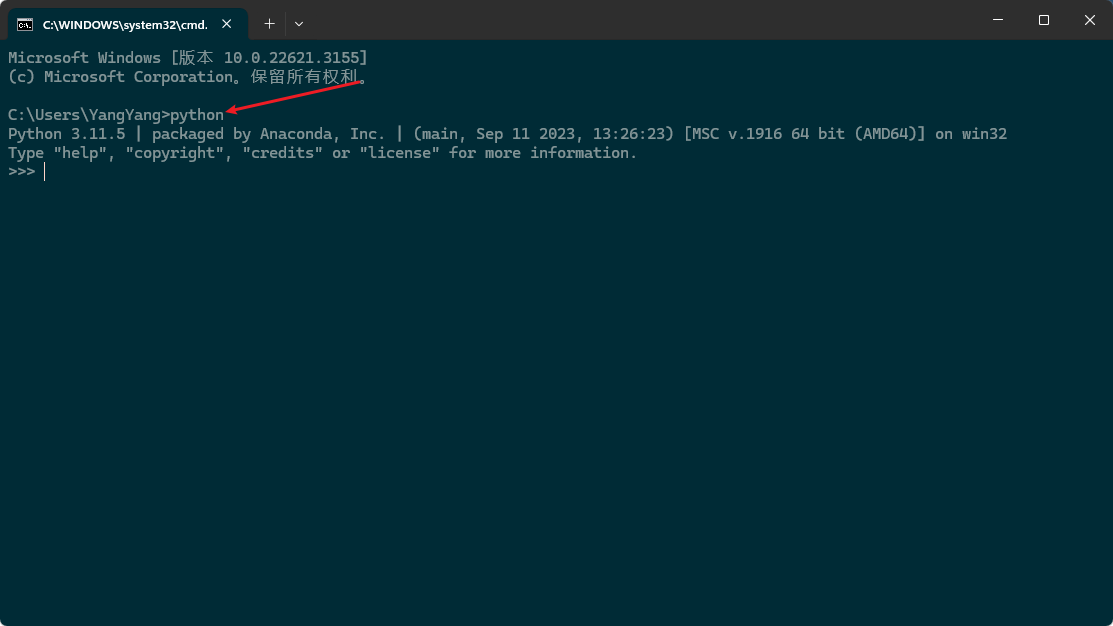
Once the installation is complete, run: python in a command line window to see the results of the installation, as shown below:
At this point, the Python installation is complete, and the next step is to install anaconda, a python virtual environment that is particularly good for managing python
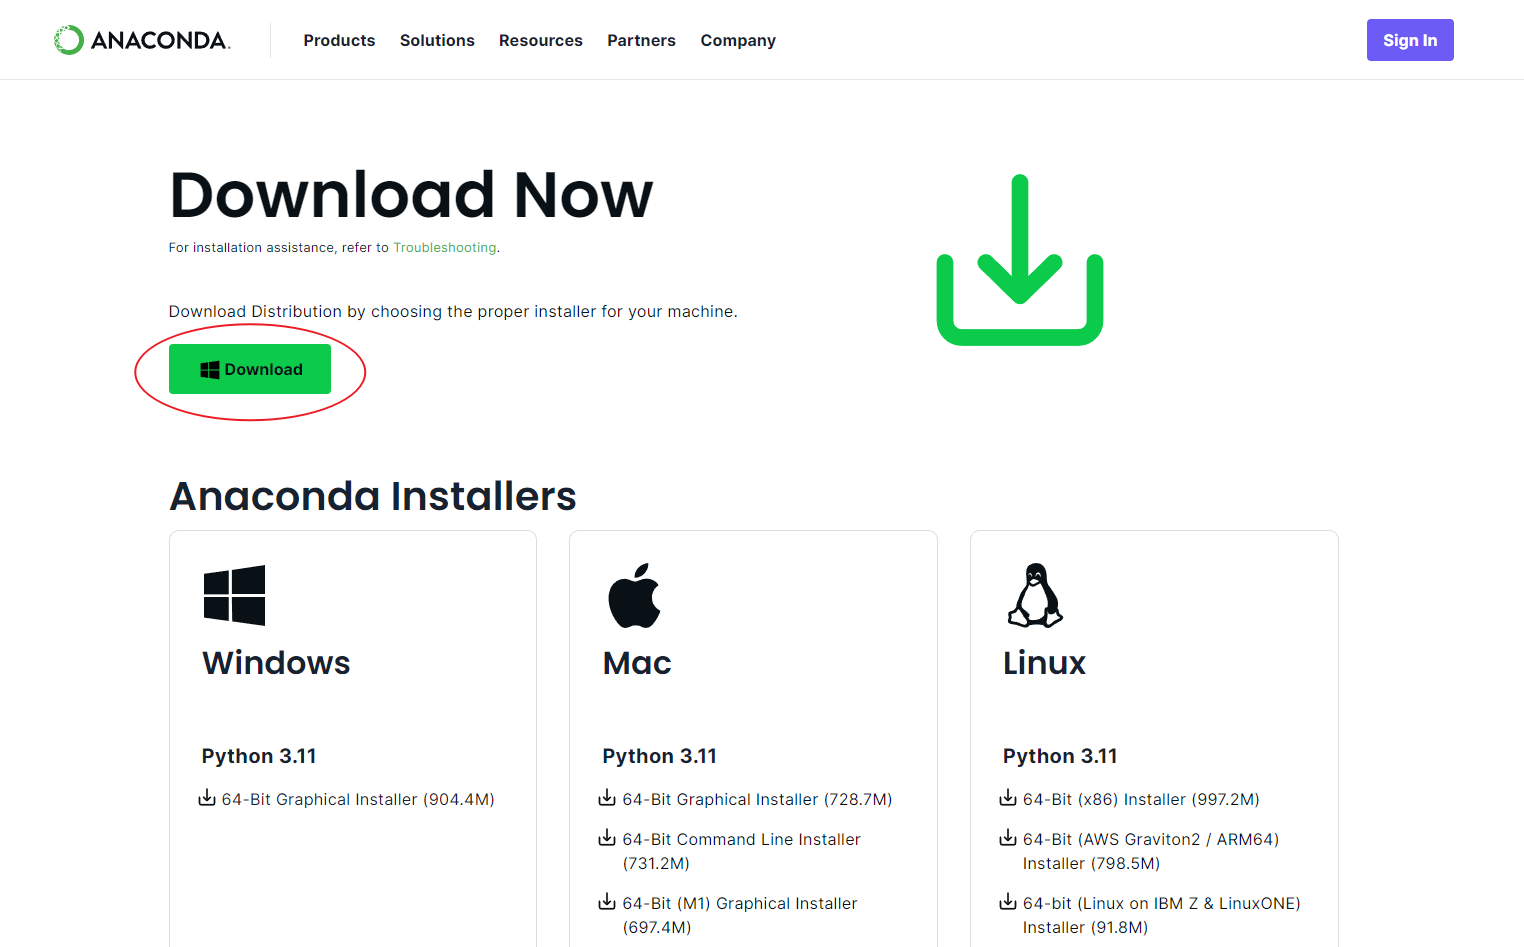
Go to anaconda's official website: https://www.anaconda.com/download/success to download and install it:
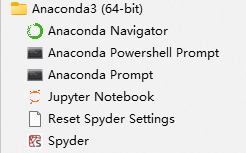
After successful installation, it will appear in the start menu as shown below:
anaconda installation is complete, next install pycharm, which is mainly used for writing code
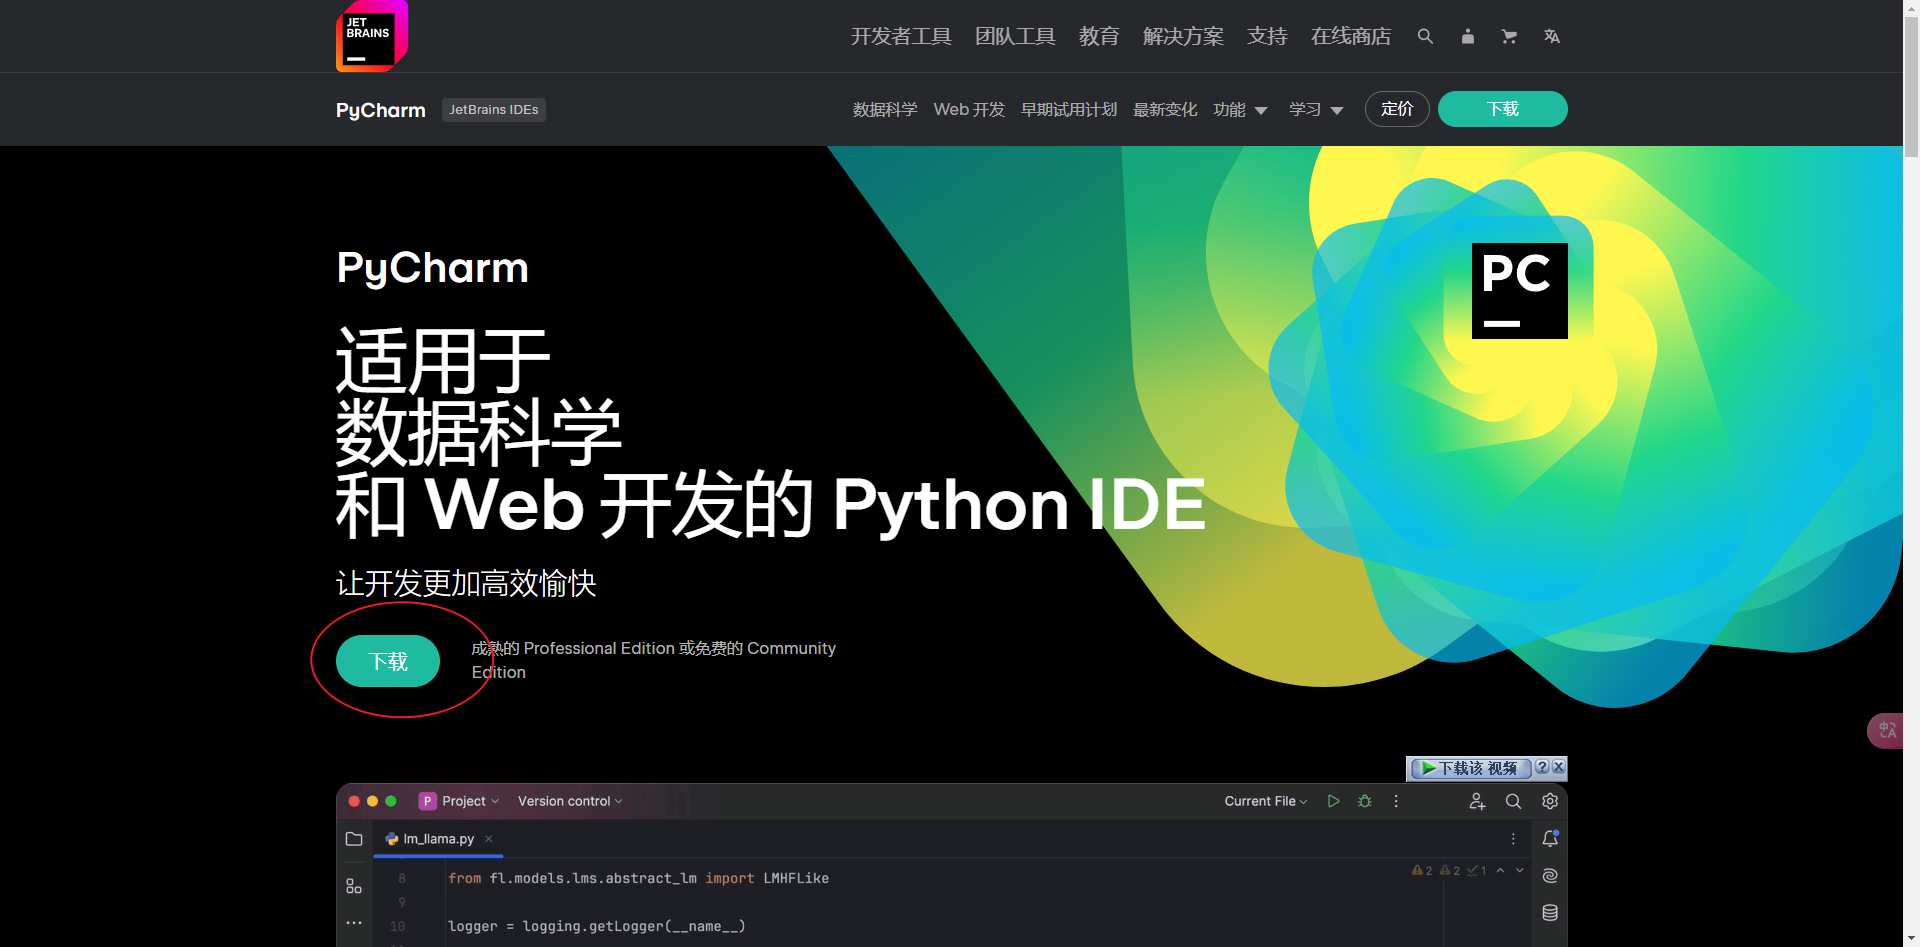
Students can apply for the educational version

And, all software installations are complete.
First introduce the entire project's table of contents:
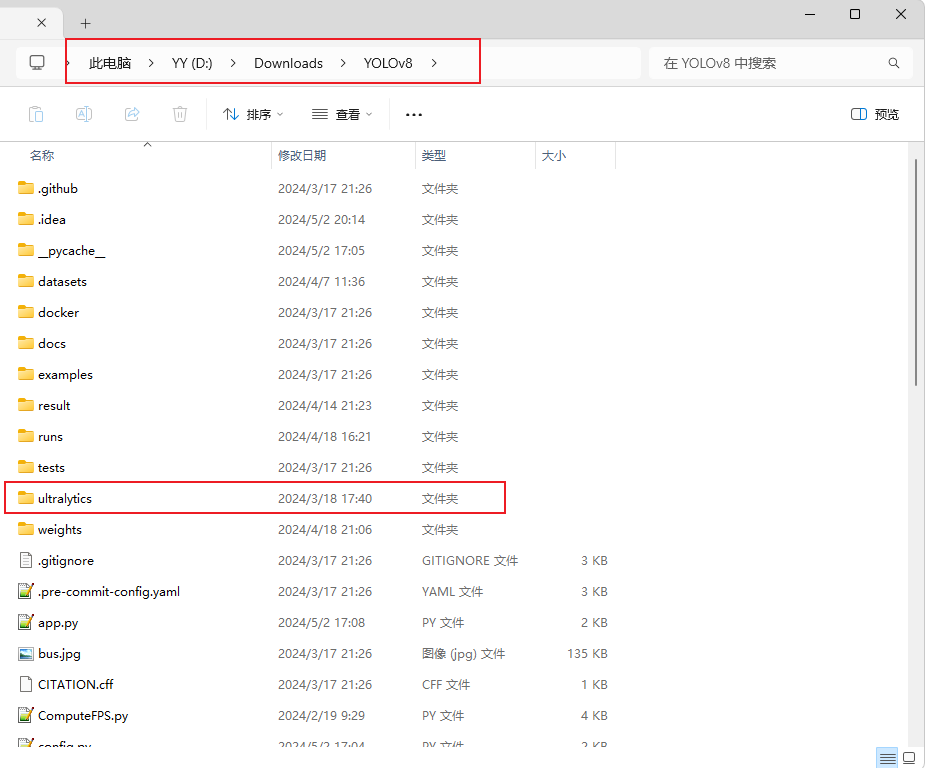

Compared with the original YOLOv8, the root directory adds some new training scripts and testing scripts, such as train.py and Detect.py, of course, you can also directly through the command line, both have the same effect.
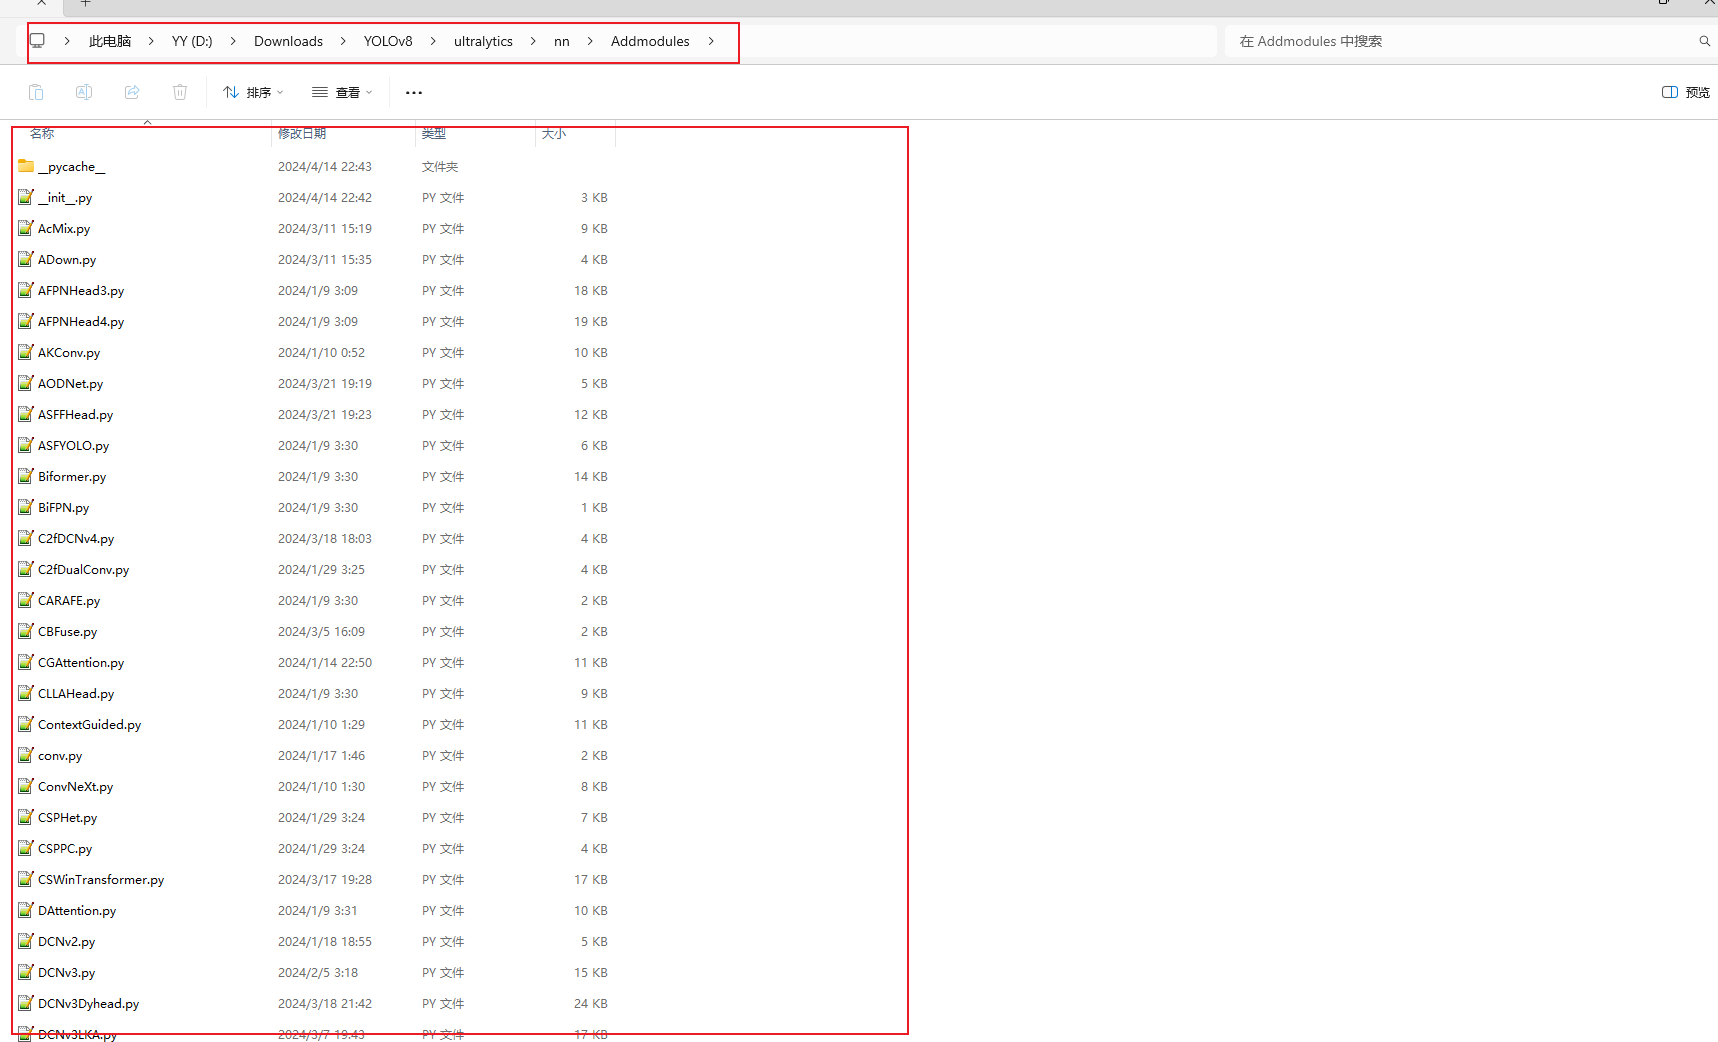
The focus is on the ultralytics/nn directory, where all the improvement modules are made, and where I have created a new Addmodules directory with the various modules for the improvements, including improvements to the backbone network, the neck network, and the detection header.
I've already made all the changes I need to make, so I don't need to make any more changes.
There is another important directory: ultralytics/cfg/models/Add, which holds all the yaml files, of which the improved yaml files are already written and do not need to be changed.
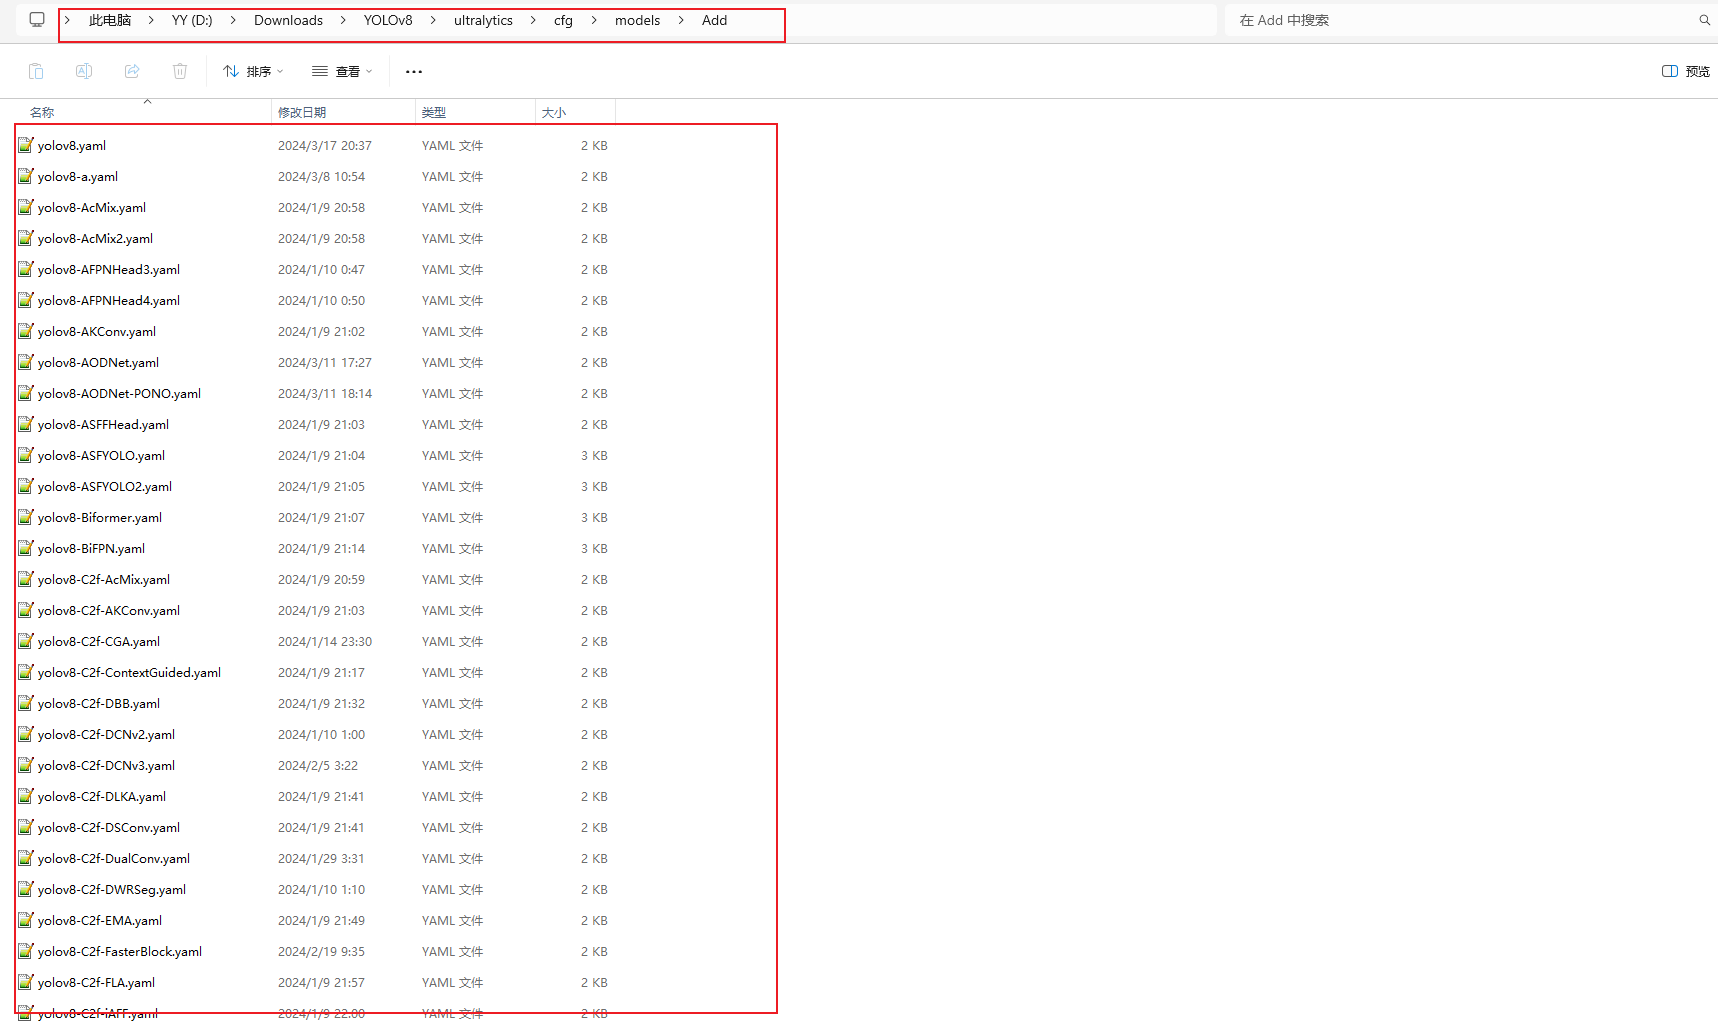
Below is an example of a yaml file, the others are similarly structured, just with different parameters:
(very important)
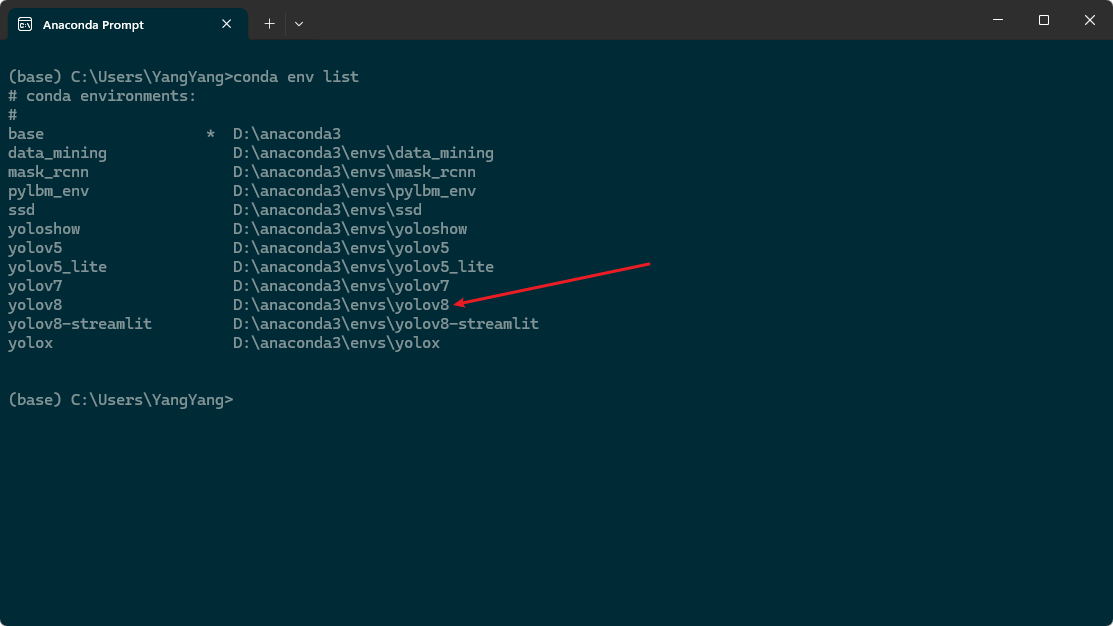
Environment configuration is very important, I was with the environment for about a week, in the middle of the experience of a variety of errors, package incompatibility problems and graphics card driver matching problems, in short, it is not good to get. In order to reproduce the work, I have exported the anaconda environment to environment.yml, located in the root directory of the project, and use it directly when creating the virtual environment.
Then type conda env create -f environment.yml in the anaconda prompt terminal to create a virtual environment based on the environment.yml file. After creating the environment, check whether the environment exists through the conda env list, as shown in the following figure, which indicates that the creation is successful:
If there are torch-related errors when installing, the probability is that your graphics card driver does not match the version of the torch package in here, this problem needs to be modified on its own, and there is a lot of information about this on the Internet.
Once the virtual environment is created, you can use it in pycharm by clicking on the bottom right corner, switching conda environments, and selecting the virtual environment you just created. If at this point there is no error, congratulations, has completed 80% of the work.
Run the Detect.py script to test the detection, if no errors are reported, the next step is to train the model.
Find the train.py file in the root directory, the comments have been written clearly as below:
import warnings
warnings.filterwarnings('ignore')
from ultralytics import YOLO

if __name__ == '__main__':
    model = YOLO('yolov8-HSFPN.yaml')

    # model.load('yolov8n.pt') # 是否加载预训练权重,科研不建议大家加载否则很难提升精度

    model.train(data=r'D:/Downloads/YOLOv8/datasets/data.yaml',
                # 如果大家任务是其它的'ultralytics/cfg/default.yaml'找到这里修改task可以改成detect, segment, classify, pose
                cache=False,
                imgsz=640,
                epochs=150,
                single_cls=False,  # 是否是单类别检测
                batch=4,
                close_mosaic=10,
                workers=0,
                device='0',
                optimizer='SGD', # using SGD
                # resume='runs/train/exp21/weights/last.pt', # 如过想续训就设置last.pt的地址
                amp=True,  # 如果出现训练损失为Nan可以关闭amp
                project='runs/train',
                name='exp',
                )
model = YOLO('yolov8-HSFPN.yaml'), replace the yaml file in it with your own yaml file, I am using yolov8- HSFPN.yaml here, data=r'D:/Downloads/YOLOv8/datasets/data.yaml, similarly, replace it with the yaml file of your own dataset, my dataset here is in YOLO format. Other parameters can be adjusted according to your task.
There's also a script for detecting, Detect.py:
import warnings
warnings.filterwarnings('ignore')
from ultralytics import YOLO

if __name__ == '__main__':
    model = YOLO('D:/Downloads/YOLOv8/result/result_8_HSFPN/train/exp/weights/best.pt') # select your model.pt path
    model.predict(source='D:/Downloads/YOLOv8/ultralytics/assets',
                  imgsz=640,
                  project='runs/detect',
                  name='exp',
                  save=True,
                )
Similarly, replace best.pt with your own trained model, enter the path of the detected image inside source, run the script to start the detection, and save the results in the runs/detect directory.
Prepare the dataset, preferably in yolo format, my dataset comes with the project, no need to re�download it:
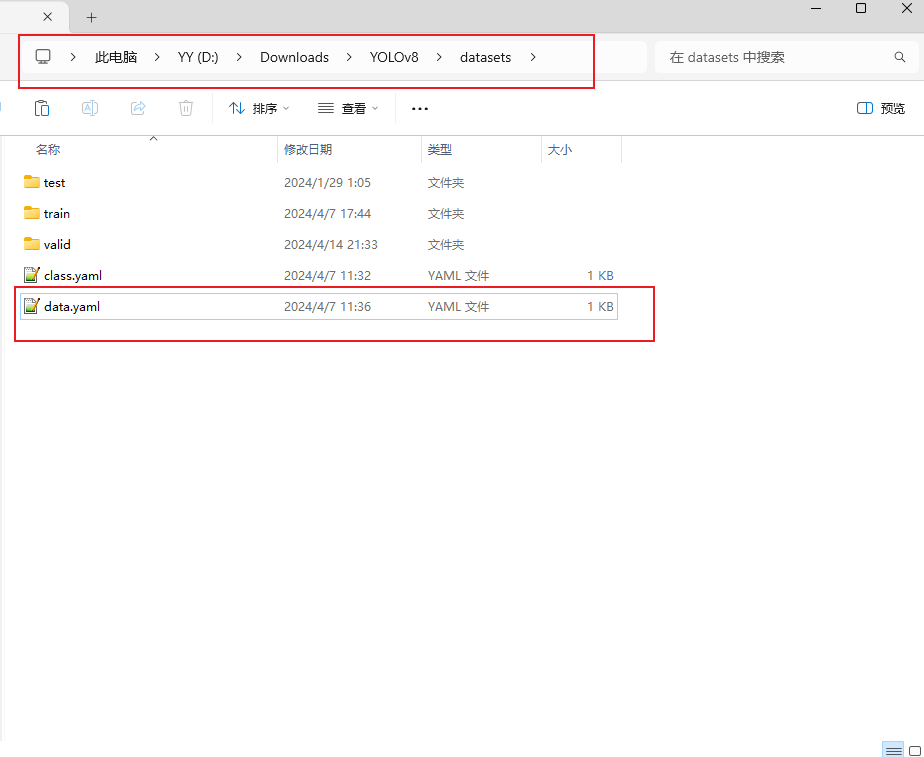
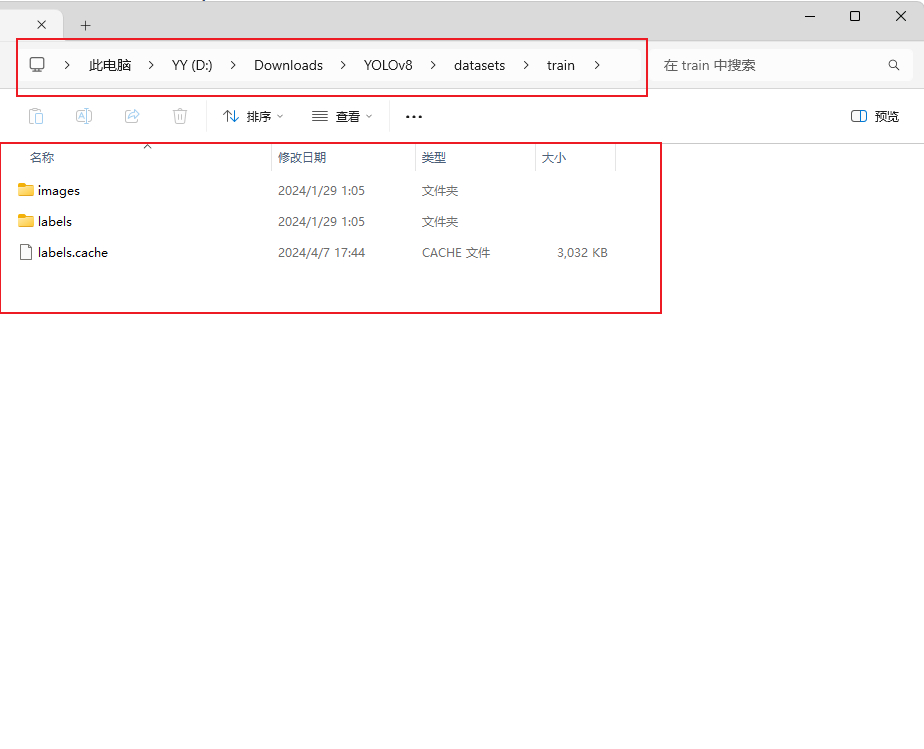
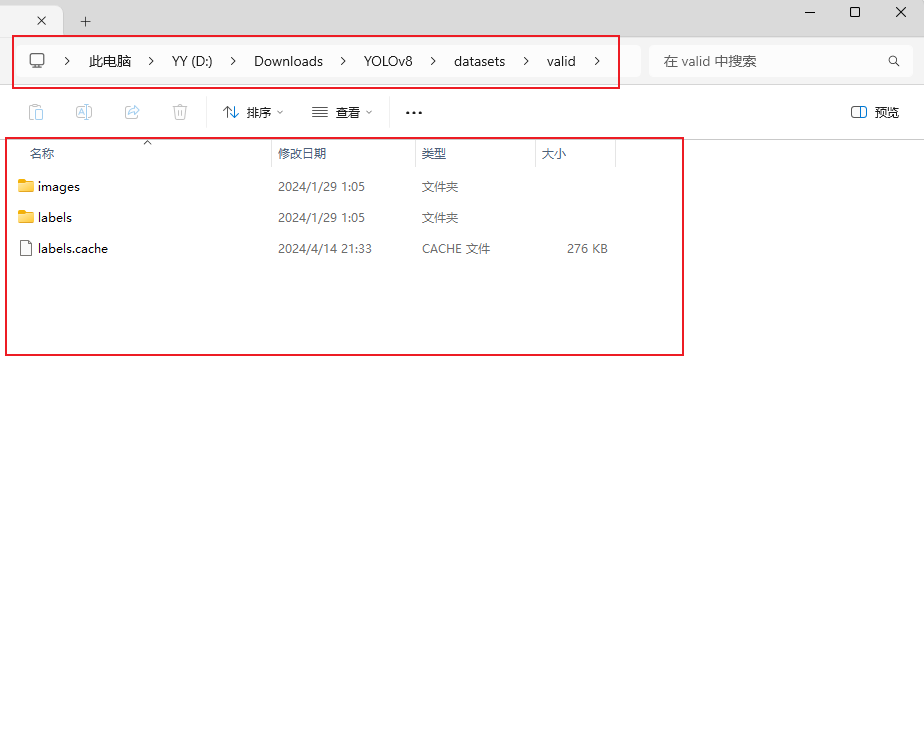
Inside the datasets directory is my dataset: there are three directories, TRAIN, TEST, and VALID, which hold the images and labels for the training, test, and validation sets, respectively
After preparing these, run the train.py file and start training. If you get an error, look it up on the internet, it's just that you can't find the dataset, the version of a package is wrong, or you can't use the GPU, you can only use the CPU.
The training results will be saved in the runs/train directory in the order of exp1,exp2,exp3, indicating the results of each training
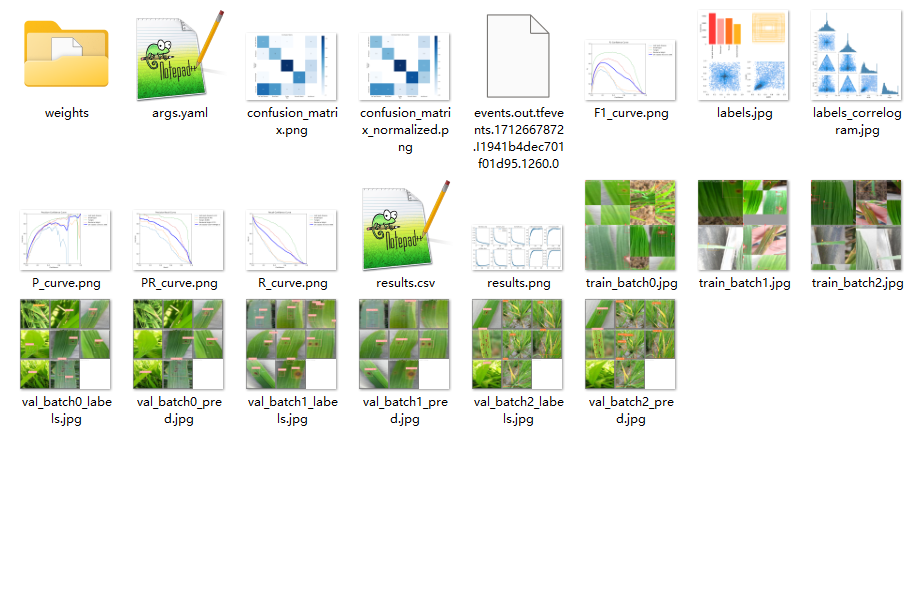
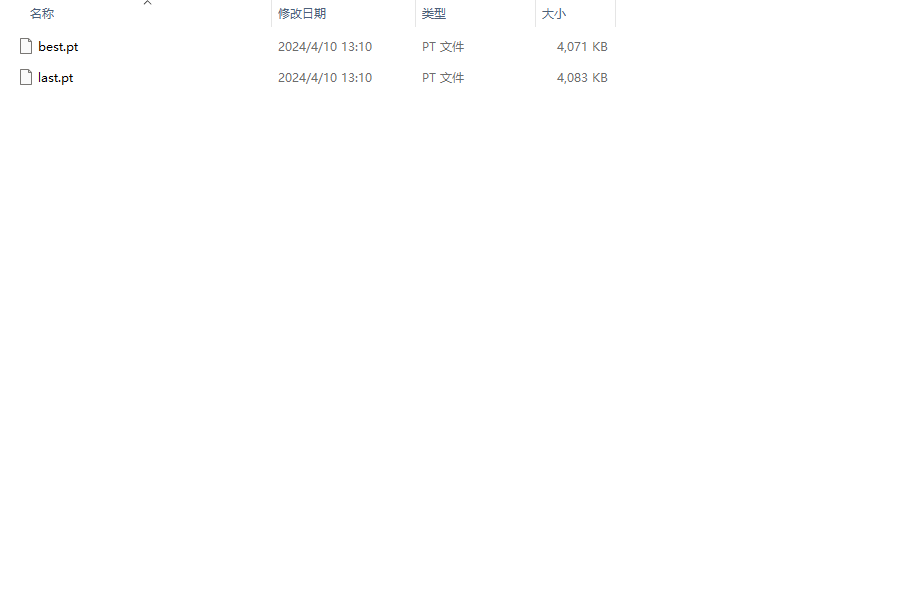
The picture above is the structure of the directory after the training is done, inside the weights directory are the models we need: best.pts is the one with the best results, and that's the one we need at the end, and last.pt is the result of the last training.
I have already done the improvement work of the whole project, if you reproduce it, you only need to install the corresponding environment, modify the parameters of train.py, run train.py tostart training; modify the parameters of Detect.py, you can detect. Currently, the project is only for the detection task, and no improvements have been made for segmentation and classification.
(1)The following are the versions of two important libraries, which must be downloaded accordingly, otherwise errors will be reported
python == 3.9.7 pytorch == 1.12.1 timm == 0.9.12 # 此安装包必须要 mmcv-full == 1.6.2 # 不安装此包部分关于dyhead的代码运行不了以及Gold-YOLO
(2)The reason why mmcv-full fails to install is because of a problem with the compilation tool on your own system, or because of a conflict between the environments in which it is installed.
We recommend that you install offline in the form of the following address you can find their own version, download to the local installation. https://download.openmmlab.com/mmcv/dist/cu111/torch1.8.0/index.html https://download.openmmlab.com/mmcv/dist/index.html
(3)basicsr installation failure reasons, through pip install basicsr download if it fails, you can go to Baidu search how to change the download mirror source can be repaired!
(1)Nan values appear for loss during training. Try turning off AMP mixed precision training.
(2) Multi-card training problems, after modifying the model can not support multi-card training you can try the following two lines of command line operations, the two are different operations, is on behalf of different versions now try the first one does not work with the second one
python -m torch.distributed.run --nproc_per_node 2 train.py
python -m torch.distributed.launch --nproc_per_node 2 train.py
(3) For the runtime of some of the error resolution 1. If the validation of the training process reported an error (mainly some shape mismatch error this is due to the validation of the set of some of the special pictures lead to) Find rect=mode in the build_dataset function in the DetectionTrainer class of ultralytics/models/yolo/detect/train.py
2. Running the detect.py file while reasoning reported a shape mismatch error
Find ultralytics/engine/predictor.py and find the function def pre_transform(self, im),
change auto to False in LetterBox.

3. The problem of mismatched types of errors reported during the training process
Find the file 'ultralytics/engine/validator.py' and find 'class
BaseValidator:' and then in its 'call ' self.args.half = self.device.type ! = 'cpu' # force FP16 val during training with
self.args.half = False below the line of code
(4) For the nc changes in the yaml file No need to modify it, the model will automatically get it based on the profile of your dataset. This is also the difference between printing the model twice, the first printout is the structure of the yaml file you chose for the model, and the second printout is the yaml file that replaces your dataset, the model uses the second one.
(5) Environment-specific issues The environment is different for everyone who meets it, so you can find out for yourself online.