
This repository is designed for beginners/newcomers to Docker to learn the software from the ground up, providing documentation, examples & links to other useful resources. I've attempted to link this document to as much source-code as possible so if you really want to get into how Docker/Containers work you can browse the source at your leisure.
Some basic Linux Kernel & CLI knowledge is required to make best use of this document, however I've tried to explain these features in laymans terms for those not so familiar with Linux OS.
- What Are Docker Containers?
- Installation, Docker CLI and Docker-Compose
- Running Your First Docker Container
- Building Your First Image
- Example Application
- Conclusion
- Useful Cheat Sheet
You may have heard containers referred to as 'lightweight virtual machines' - this is not true, although the output result looks similar. The fundamental concept is simply process isolation, this functionality is provided through the following Linux Kernel features:
- cgroups: control groups, allows you to limit & account for resource usage (CPU, memory, disk I/O, network etc) of a collection of processes. Initial Kernel release 2.6.24, 2008. Since this time further features have been added, including kernfs (cgroup virtual file systems - Kernel 3.14, 2014), firewalling and unified hierarchy
- namespacing: allows the reuse of names in different contexts, there are 8 namespaces:
- PID namespace
- Mount namespace
- UTS namespace
- Network namespace
- IPC namespace
- User namespace
- Control Group (cgroup) namespace
- Time namespace
This is a fundamental difference from a Virtual Machine, which must distribute their own Kernel. Containers still make use of the host operating system and have a PID, unlike a VM.
This process isolation was originally achieved using LXC (Linux Containers), an abstraction over low-level cgroups and namespaces, released in 2008. Docker was originally an abstraction over LXCs, however since Docker 0.9 it has included its own component, libcontainer, to directly use the Kernel virtualization facilities in addition to abstracted interfaces such as LXC, libvirt and systemd-nspawn. As these are all Linux-specific features, other implementations (such as OSX or Windows) will run a Linux Virtual Machine in the background to actually host the containers.
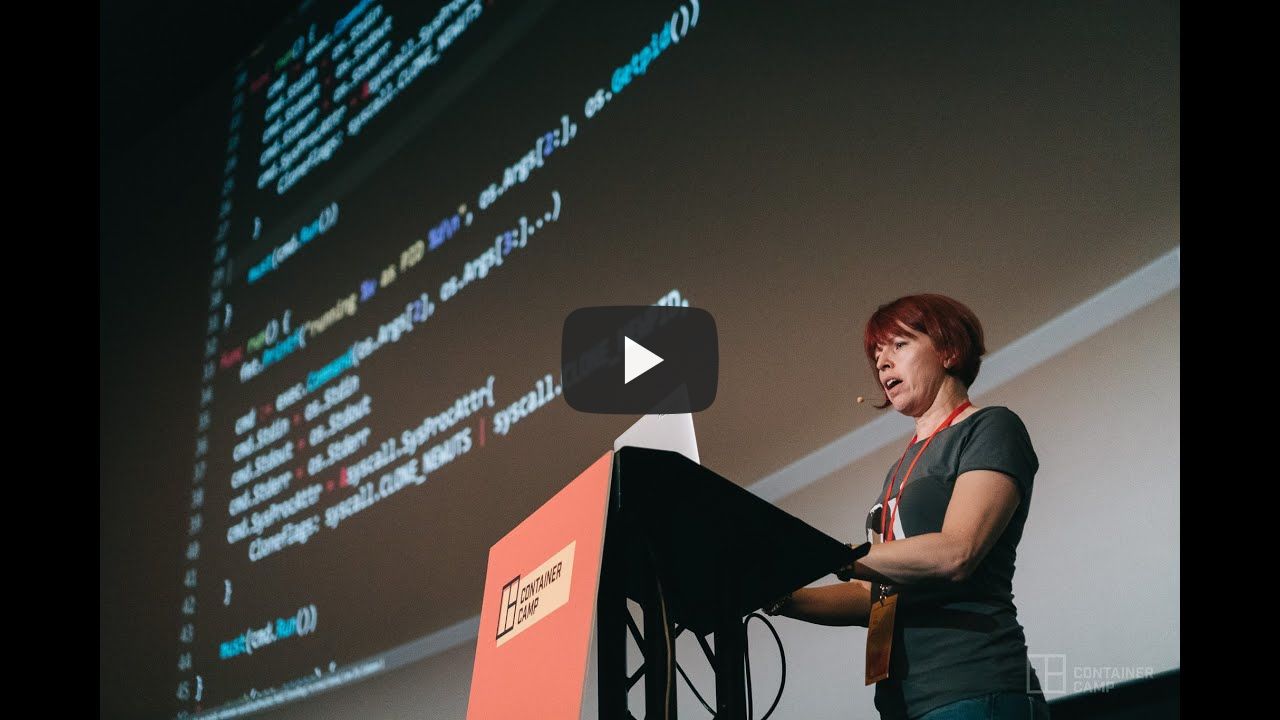
Embedded below is a great presentation from Liz Rice, explaining the process of coding-up a container from scratch in Go. For those that would prefer a quick skim-over what a container looks like in code (C), links below:
Docker's core component is the Docker Engine (this is itself a fork of Moby), which is exposed over an HTTP API on the host machine. This is accessible over a UNIX Socket (/var/run/docker.sock) on localhost, but it can also be exposed over TCP - by default this is disabled for security purposes. This socket is referred to as the 'Docker Socket'. The Docker Engine is responsible for spawning, orchestrating and monitoring the containers, as well as responding to client requests over the API.
You would not typically communicate directly with the Docker Socket however, but use the Docker CLI. The Docker CLI provides a user-interface for the Docker Socket and makes API requests much easier to manage. We will be using the Docker CLI throughout this documentation and to make use of Docker containers you should be very familiar with this tool.
- "Works On My PC", "Ship Your PC To The Customer Then" - effectively Docker is doing the latter! Due to the environment isolation provided by containers, this allows application developers to control the dependencies and environments of their applications, and keep this consistent throughout the entire development/test/deployment pipeline. Everything from networks, files, environment variables, exposed ports, and more are the responsibility of the developer. All of this configuration is bundled together into a Docker Image (containers are created from images, more on this later) and not shared with the Host OS or other Docker Images
- Example: You have a 5-microservice application where each service is written in a different language, requires different packages, config etc. All that is required on the Host OS is a docker install, you can simply add these Docker Images and run them. All config, language runtimes, libraries, OS packages etc are bundled in the Docker Image.
- Bug/Issue circuit breaker - processes isolation stops issues in container A affecting container B or the Host OS in any way. You can even check out CLI commands/tools you are not sure about by starting a container simply with a shell, preventing any damage being done to your Host OS
- Centralised Docker Image Repository: Docker (the company) provides a centralised, open image repository - this allows you to take virtually any software, clone to your local PC, then run it. No configuration required. A particularly useful example is a database - you're putting together a schema and want to test it, if you get it wrong you can just restart the container instead of clearing configs and files then starting again. The development process is significantly faster.
- Inspect: Docker allows you to 'inspect' a downloaded container, as well as get access to a bash terminal for a running container. You can use this to check the configuration of a 3rd party tool and either configure your own, or perform reverse-engineering. More on this functionality later
- Monitor/Orchestrate applications: by default Docker Containers take over stdin, stdout, stderr when started. However you can easily add a flag to send these to the background and free your terminal, then easily use a single interface, the Docker CLI, to monitor and control running applications
The Docker CLI is the primary way of interacting with a singular Docker Container. I won't bore you by copying and pasting the official documentation, but instead give a short list of some of the most useful commands you will need. Please read the official Docker CLI documentation.
Docker-Compose is a Python3 program produced by docker, for orchestrating multiple containers and defining your container in YAML rather than at the CLI. Fundamentally this is still communicating with the Docker Socket in the same way as the CLI but is a much more user-friendly way of configuring containers are runtime. We will go into more detail in this document on how Docker-Compose works as this is how you should be running containers rather than through the CLI, this document is designed to supplement, not replace, the official documentation and official reference
There is no better way of explaining the Docker workflow like running your first container! Docker distributes a 'hello-world' container for just this purpose.
- Get the Image:
docker pull hello-world. Containers are creating from Images. You can have multiple instances of a Container created and running from a single Image. The Image contains all the configuration, files and dependencies that are then loaded into a Container to be run. Once you execute this command, you will see a download taking place, defaulting to the latest version of the Image. This is downloaded from the Central Docker Hub Repository. - Inspect the Image:
docker inspect hello-world. This command allows you to view the makeup of an Image. You can view environment variables, the command run inside the Container, SHA256 hash for the Image, Architecture (e.g. hello-world is amd64 not x86-64) and other configuration. It is useful to know some of these details before pulling and running an Image. - Run a Container from the Image:
docker run hello-world: This command creates a Container from the downloaded Image, and runs the 'cmd' command you saw whilst running the Inspect command. You should get a simple splash-screen saying 'hello world' and explaining what took place to create the container. - View Container:
docker ps -a. The hello-world Container just prints some text and then exits. However we can see some of the details that were assigned to it after it closed by running this command. We can see that each container is assigned a unique ID, what image it was created from, the command used to run the application inside the container, when the container was created, when the container exited, any port mappings that were assigned, and the name of the container (if not supplied this is randomly generated). - View Output:
docker logs {container_name}. Docker will capture and save STDOUT for any Container run. You can then access this from any container (running or stopped) using the Docker Logs command. You can add a '-t' arg to also get the timestamps of the log output. - Remove The Container:
docker rm {container_name}. Once the container has finished, you should remove the record of it from the system as not to clutter yourdocker ps -aoutput report. Unfortunately this command does not support wilcards and if you need to remove multiple Containers from the list you have to do each one-by-one or write a shell script to do it for you.
You should now see that an Image is pulled from the central repository, a Container is created from an Image, and how to monitor your Container.
Images can be pulled from the central repository, but you can also build them yourself. These are declared in a Dockerfile, which is essentially a glorified shell script with a format, for building Docker Images. We will use Docker-Compose to control this process as it provides more visibility rather than a large CLI command. This example demonstrates building an Image to run a 'hello world' Python3 script, using a basic Image based on Ubuntu Linux OS.
NOTE: Each step in a Dockerfile is stored as part of the image, which allows for caching build steps if multiple containers have the same first few lines for example, and so end users can see what you've done to build the container. HOWEVER, as a result this means large Dockerfiles means large output Images. To minimise your output image sizes, chain as many commands into one line as you can.
mkdir test_image && cd test_image && echo "print('Hello World')" >> main.py && touch Dockerfile && touch docker-compose.yml- Take the below and save into
Dockerfile:
FROM ubuntu
RUN apt update -y && apt install -y python3
WORKDIR /code
COPY ./main.py .
CMD ["python3", "main.py"]- FROM ubuntu: The 'FROM' clause dictates the base Image to build your Image from. If in doubt, Ubuntu is a good start or Alpine for an ultra-small Linux distro.
- RUN apt update -y && apt install -y python3: The 'RUN' command allows you to run any shell command inside the image, any changes or output files will be stored in the image. The example command is to install the Python3 interpreter as a dependency.
- WORKDIR /code: So far all commands have been running in directory '/'. The 'WORKDIR' command creates and changes your working directory to the specified dir. General best practice is to create your own at the root, as seen in this Dockerfile example.
- COPY ./main.py .: The 'COPY' command, copies a file from the Host to the Image. The first arg is the source, the latter the target. You must give the full path relative to the location of the Dockerfile. If the target filename is the same as the source, you can just put '.'. The target file will be put into the directory relative to the set 'WORKDIR' path.
- CMD ["python3", "main.py"]: The 'CMD' command, declares the command to be run when the Container is executed. Each arg is separated in an array, this is reasonably self-explanatory.
- Take the below and save into
docker-compose.yml:
version: '3'
services:
  test:
    container_name: test
    build:
      context: .
      dockerfile: Dockerfile
image: testing:test- version: '3': The defines the version of docker-compose - unless a new version is released, 3 is the default
- services: Defines the services
- test: This is the name of the image in the YAML file - must be unique inside the YAML file
- container_name: This is the name of the container once created, additional replicas will be appended with '_X' where X is a number
- build: This defines options for building the container
- context: .: This defines the directory to search for a Dockerfile
- dockerfile: Dockerfile: This defines the name of the Dockerfile to use during the build, default is 'Dockerfile' but its in this example to be specific
- image: This defines the name of the image to be saved, in the format {repository}:{image_name}
- test: This is the name of the image in the YAML file - must be unique inside the YAML file
- Start the Build & Run workflow with the command
docker-compose upfrom inside the 'test_image' directory. You'll see the Ubuntu base image being pulled, then the process of building your image, then running the container and exiting. - To clean up all the created containers in the docker-compose.yml file, run
docker-compose down.
This process demonstrates building a simple Docker Image and how a simple docker-compose file works. For more complex features you can use the docker-compose reference and dockerfile reference.
Building simple Images and running simple Containers is all well and good, but what would a real-world application look like? Provided in this repository is an example web application. To launch the application you require Docker and Docker-Compose to be installed, then run: cd webapp && docker-compose up -d.
This application simply lets you connect to an API endpoint and view the number of times you've visited the endpoint. This is stored in a Redis database, processed in a Python3 Flask app, with an Nginx proxy at the front.
Once running, you can use commands such as docker logs {container_name} to look at the container output, docker inspect {container_name} to see further details. You can gain access to a container with docker exec -ti {container_name} /bin/bash and take a look at the environment setup by the Dockerfile.
The Python3 application is responsible for getting the number of visits from Redis, incrementing this value, then returning a JSON response to the user. However for this demo the functionality itself is irrelevant - the Dockerfile is the main focus. We'll walk through this file step-by-step, using what we learned from the previous example:
- Set base image (
FROM ubuntu) and working directory (WORKDIR /code) - We run some Ubuntu-specific CLI commands to update the remote package repository and install the Python3 interpreter and package manager pip3.
- Copy a directory into the image using a '
/' at the end to denote this is a directory and to copy the contents, the destination is relative to the setWORKDIR - Copy the required explicit files into the image
- Run a Makefile - Makefiles are a really straightforward way of getting around the issue of multiple Dockerfile steps taking up space, as it encapsulates the applications entire 'compilation' process in a single command, letting you define this process in a file instead of at the CLI. This Makefile has installed dependencies and test code steps.
- You can prove to yourself that the installed dependencies are separate from the host by running the command
pip3 freezeand seeing that the Python3 dependencies are not installed on the host
- You can prove to yourself that the installed dependencies are separate from the host by running the command
- Next we create a new Linux group and user. This is to avoid running any of our services as Root - this is not explicitly required for the Docker Image however when running in production you should still always ensure your application has the minimum required permissions. Breakout Example.
- Finally, we setup the launch command for a uwsgi server to host the Python3 application. In the .ini file for the uwsgi server we're specifying the user to launch as
The docker_compose.yml file contains our instructions for the Docker Engine on what containers we would like created, and their settings. This is all possible from the CLI but would get very complex, very quickly. Let's run through the file:
- Specifying the version of docker-compose file reference to use
- Next we specify the virtual networks we want to create. These are all internal to docker
- We specify an
internalflag here: 'true' means that no inbound or outbound connections can be made from any container on this network, but they can communicate with other containers on other networks (if the container is also part of that network) or within the same network
- We specify an
- Then we specify the services we want to run. Each service can be thought of as the instructions for launching a Docker Container from a Docker Image
- container_name: specifies the name of the container once launched. This is also used for DNS routing inside the Docker Networks
- build: This section is used to define details for building the Docker Image. This is only required if you are actually building a Docker Image, you will notice not all services define this step
- image: defines the Docker Image details for either the build step, or if not defined, the image to search for and pull from configured remote repositories
- environment: specify environment variables to start the Docker Container with, as key-value pairs
- networks: instructs which Docker Networks the Docker Container will need to be attached to
- volumes: maps directories on the host to directories within the container - allows persistence between Docker Container restarts! The host is first, split by a colon, then the container
- ports: maps ports on the host (L) to ports in the container (R). In the example, we map 6006 (host) to 80 (container)
- restart: specify the restart policy if the container closes. See the docker-compose reference for accepted values
This guide gives you an introduction into what a Docker Container is, how to run them, how to build your own and how to do some simple monitoring/inspection techniques. This guide has been intended to supplement the resources already on the web and not a full rundown of containers from start to finish. Here is a great list of further resources to supplement this document and improve your knowledge:
- Docker CLI
- Bash Shell in a running container:
docker exec -ti {container_name} /bin/bash - View all containers, including shut-down errors:
docker ps -a - List Images:
docker image list - Delete Image:
docker image rm {image_id} - Inspect Image:
docker inspect {image_id} - Stop Container:
docker stop {container_name} - Kill Container:
docker kill {container_name} - View Processes In Container:
docker top {container_name}
- Bash Shell in a running container:
- Docker-Compose
- Run a docker-compose.yml file with attached shell:
docker-compose up- exit attached shell, keep processes running: ctrl + z
- exit attached shell, perform 'docker stop' on all containers: ctrl + c
- Run a docker-compose.yml file with a detached shell:
docker-compose up -d - Build/Pull a docker-compose.yml file's images:
docker-compose build
- Run a docker-compose.yml file with attached shell: